Hi guys!
So, it's Monday and I have wanted to bake a few things again and share this recipe with you for a maple huckleberry coffee cake. I love this recipe, because it is not too sweet and adds a fruity touch. I found the recipe on 101cookbooks.com and tried it some time ago. Here's the link to the recipe:
http://www.101cookbooks.com/archives/maple-huckleberry-coffee-cake-recipe.html
Here's how mine turned out:
I have to apologize for the picture: the cake was eaten quite fast by friends and family and I could only rescue a small piece to get a picture. I did not end up with as much crumb mixture and some of it almost combined itself with the rest of the dough, but I didn't mind. It is about the soft sweetness the cake I really love in combination with a little rougher taste from using whole-weat flour. I hope you are going to like the cake as much as I do and it is a great treat if you are looking for something to help feed you sweet tooth while being a little better for you than average cake.
Have fun trying and have a good week!
Hi guys!
So it's monday and I have a vegan treat for you today. Artichokes are starting to come into season at the moment, so if you're lucky you'll get wonderfully large ones at your grocery store or a local farmer's market. I haven't eaten any artichokes at all until about two years ago, but that's when I have started loving them. They are incredibly versatile. You can use only the bottoms as a vegetable, use the hearts in a pesto or eat all of it. Today's recipe comes from Gwyneth Paltrow's "Notes from my kitchen table". Here's the recipe:
4 artichokes
150ml extra virgin olive oil
3 tablespoons red wine vinegar
salt
freshly ground black pepper
200g (7 oz) day-old bread, cut into 1 cm cubes
450g (15 oz) cherry tomatoes
handful fresh basil leaves
1 lemon
1) Cut the top 2 cm (1 inch) off the artichokes as well as the tough outer leaves and stems and discard. Rub the cut face with lemon juice. Steam the artichokes for 45 minutes. If you don't have a steamer, heat water in a large pot until boiling. Take a sieve, put the artichokes in and hang the sieve above the boiling water. Turn the heat to medium and put a lid on the pot.
2) Meanwhile, quarter the tomatoes. Whisk together 125ml olive oil, red wine vinegar and season with salt and pepper. Fold in the bread cubes. If they're really dry, add a spoonful of warm water. Using your hands, crush in the tomatoes and stir in the basil. Let the bread mixture sit while the artichokes are cooking.
3) When the artichokes are cooked through, let them sit for 10 or 15 minutes until cool. Using a soup spoon, scoop out the thistly chokes. Squeeze lemon juice over the cavity of each artichoke and stuff with the bread salad. Drizzle over the remaining olive oil. Serve at room temperature.
Active preparation time: 10 minutes
Total preparation time: 1 hour
Serves: 4
© Copyright: Gwyneth Paltrow, "Notes from my kitchen table", p. 206.
Here's how my stuffed artichoke looks:
First of all, let me tell you how much I adore the colour. The intense red of the tomatoes, soft yellow-orange from the olive oil-soaked bread cubes and the green from the artichokes - absolutely beautiful. And the taste lives up to how it looks like. Being vegan (which is supposedly boring according to some of my friends...) this dish really combines so much flavour. A slight acidity from the vinegar and tomatoes while adding sweetness at the same time. The bread and olive oil add richness and creaminess. And the leaves from the artichokes have an almost flesh-like consistency. Combining all these different flavours and textures guarantees a satisfying dish at any time.
Have fun trying!
Hi guys!
It's monday and I decided it was time for a vegan recipe again - or at least a vegetarian recipe that can go vegan in one step. Last week, I vowed to leave soups out of my nutrition until autumn and here is how far I got with that resolution: exactly one week. Although the weather is sunny and bright, I wanted some colour on my plate and I was craving corn. So today's recipe is a super easy corn soup using canned corn to make it as easy as possible and available year-round as I am not able to buy fresh corn at the moment. The recipe comes from a german food magazine and is available online for all those of you who speak german. I altered it a bit, though. Here's the link: http://www.essen-und-trinken.de/rezept/231899/maissuppe.html
And here is my - slightly altered - version of the recipe:
1 medium onion
1/4 teaspoon dried chili flakes (optional)
2 340g cans corn, drained (leaves you with 570g of corn, 20 oz)
1 tablespoon olive oil
1 1/2 teaspoons curry powder
800ml (3 + 1/4 cups; 26 fl.oz) vegetable stock
1 tablespoon lemon juice
salt, pepper and sugar for seasoning
1) Chop the onion into small squares. Heat the olive oil in a saucepan over medium high heat and cook the onion along with the chili flakes for about 4 minutes or until noticeably softened, stirring a few times.
2) Add the corn and curry powder and cook for another 2 minutes. Add the vegetable stock and bring to the boil. Turn the heat to medium and let simmer uncovered for 5 minutes.
3) Either transfer the soup to a blender or use a hand-held blender blend the soup until very fine. It will take some time as small chunks of pulp will tend to not blend as well. But with a little patience, you should be fine.
4) Add the lemon juice and season with salt, pepper and about 2 pinches of sugar to taste.
Serves: 4
Active preparation time: about 5 minutes
Total preparation time: 20 minutes
Here's what mine looks like:
Be careful when seasoning and taste along the way, because the curry and chili flakes might add spiciness that you are going to notice a little later instead of right the same moment. I love corn soup. It has something extremely comforting and homey to me and it involves one of my favorite vegetables. In comparison to the original recipe, I omitted cream and opted for a lot less olive oil to make the soup lighter without any flavour sacrifice, in my opinion. If you like your soups very creamy, feel free to add the cream (the recipe asks for 100ml or a little less than 1/2 cup). I wanted to keep the soup vegan and chose not to.
Have fun trying and happy meat free monday to all!
Hi guys!
Spring has finally found its way to Switzerland and I got very excited to get outside and soak up some much needed sunshine. But I also started thinking about drinking that perfect cup of coffee outside in the sunshine after lunch or in the afternoon on the weekend and as good weather mostly reminds me of the south of Europe, I turned to some classic Italian biscuits to garnish my coffee. The recipe comes from Cynthia Barcomi's "I love baking" and it is super easy.
Here's the recipe:
280g (1 + 3/4 cup) all-purpose flour
50g (1/2 cup) hazelnut meal (ground hazelnuts)
1/2 teaspoon bicarbonate of soda
1/2 teaspoon baking powder
1/4 teaspoon salt
about 1 teaspoon vanille extract or 5 pumps vanilla paste
175g (3/4 cup + 1/2 tablespoon) sugar
2 eggs
45g (1/3 stick) unsalted butter
175g (6 oz) dark chocolate
100g (3,5 oz) hazelnuts
1) Preheat the oven to 180°C (356°F). Roast the whole hazelnuts in a pan until they turn dark brown and start smelling to intensify their flavour. Roughly chop the hazelnuts and set aside. In the same pan, melt the butter over low heat.
2) Combine the flour, ground hazelnuts, bicarb, baking powder, salt, vanilla and sugar in a bowl. Add the eggs and butter and beat with a wooden spoon or spatula or with a kitchen machine until a dough forms.
3) Finely chop the chocolate and mix in the dough along with the chopped hazelnuts.
4) Line a baking tray with baking paper. Divide the dough in half, form into long rolls and slightly press them down on the baking paper to a rectangular shape.
5) Bake in the middle of the oven for 25 minutes. Take the tray out of the oven and let cool for about 20 minutes.
6) Transfer the two parts onto a cutting board and slice each large biscuit into slices, about 1 cm (1/2 inch) wide. Place the slices cut side up back on the baking tray.
7) Bake for another 7 minutes, take the tray out of the oven and turn the biscuits on the other cut side. Bake for 6-8 minutes more until golden brown. Let them cool on a cooling rack.
Yield: about 40
Active preparation time: 25 minutes
Total preparation time: 1 hour 30 minutes
© Copyright: Cynthia Barcomi, "I love Baking", p. 133.
Here's how mine turned out:
I love the intense flavour the hazelnut creates and the combination with dark chocolate is simply heavenly. I divided the dough in three parts as while baking, the dough will widen quite a bit and I like my bicotti or cantuccini smaller. It allows you to enjoy those little treats over and over and over... I also chopped the chocolate very finely. I tried almost slicing it and chopping it after so I would get a hint of chocolate with every bite. A big part of those were wrapped up and brought to friends - everybody loved them so if you're looking for small present and want to come up with something else than the usual bottle of wine, these make ideal presents. And they look very pretty packed up. I normally use small, see-through bags meant for holding candy that you can buy at any normal grocery store.
Have fun trying and happy beginning of spring!
Hi guys!
So it's monday and I want to make good on my promise from thursday and provide you with lots of new recipes the following weeks. As the weather is still rainy, stormy and cold in Switzerland, I was craving soup. Probably the last one of the season, but Donna Hay provided me with just the right recipe and I happened to have all the ingredients at home... The recipe is from the latest edition of the donna hay magazine and here it is:
1 tablespoon olive oil
1 brown onion
2 cloves garlic
1 teaspoon ground coriander (cilantro)
400g carrots
1 litre chicken stock (or vegetable stock to make it vegetarian)
sea salt and cracked black pepper
1 x 400g can chickpeas
1/4 cup (70g) tahini paste
greek-style natural yoghurt (optional)
shredded mint leaves and toasted bread, to serve
1) Chop the onion, peel and chop the carrots. Drain and rinse the chickpeas.
2) Heat the olive oil in a large saucepan over medium heat. Add the onion and crushed garlic and cook for 4-5 minutes or until softened. Add the coriander and carrot and cook for a further 1-2 minutes.
3) Add the stock, salt and pepper and increase heat to high. Bring to the boil and cook for 10-12 minutes. Add the chickpeas and cook for a further 2-3 minutes.
4) Remove from the heat and stir through the tahini paste. Using a hand-held electric blender, blend until smooth.
5) Top with yoghurt and serve with mint and toasted bread.
Serves: 4-6
Active preparation time: 10 minutes
Total preparation time: 25 minutes
© Copyright: Donna Hay, donna hay magazine autumn (april/may 2013) , "what we're trying: tahini paste"
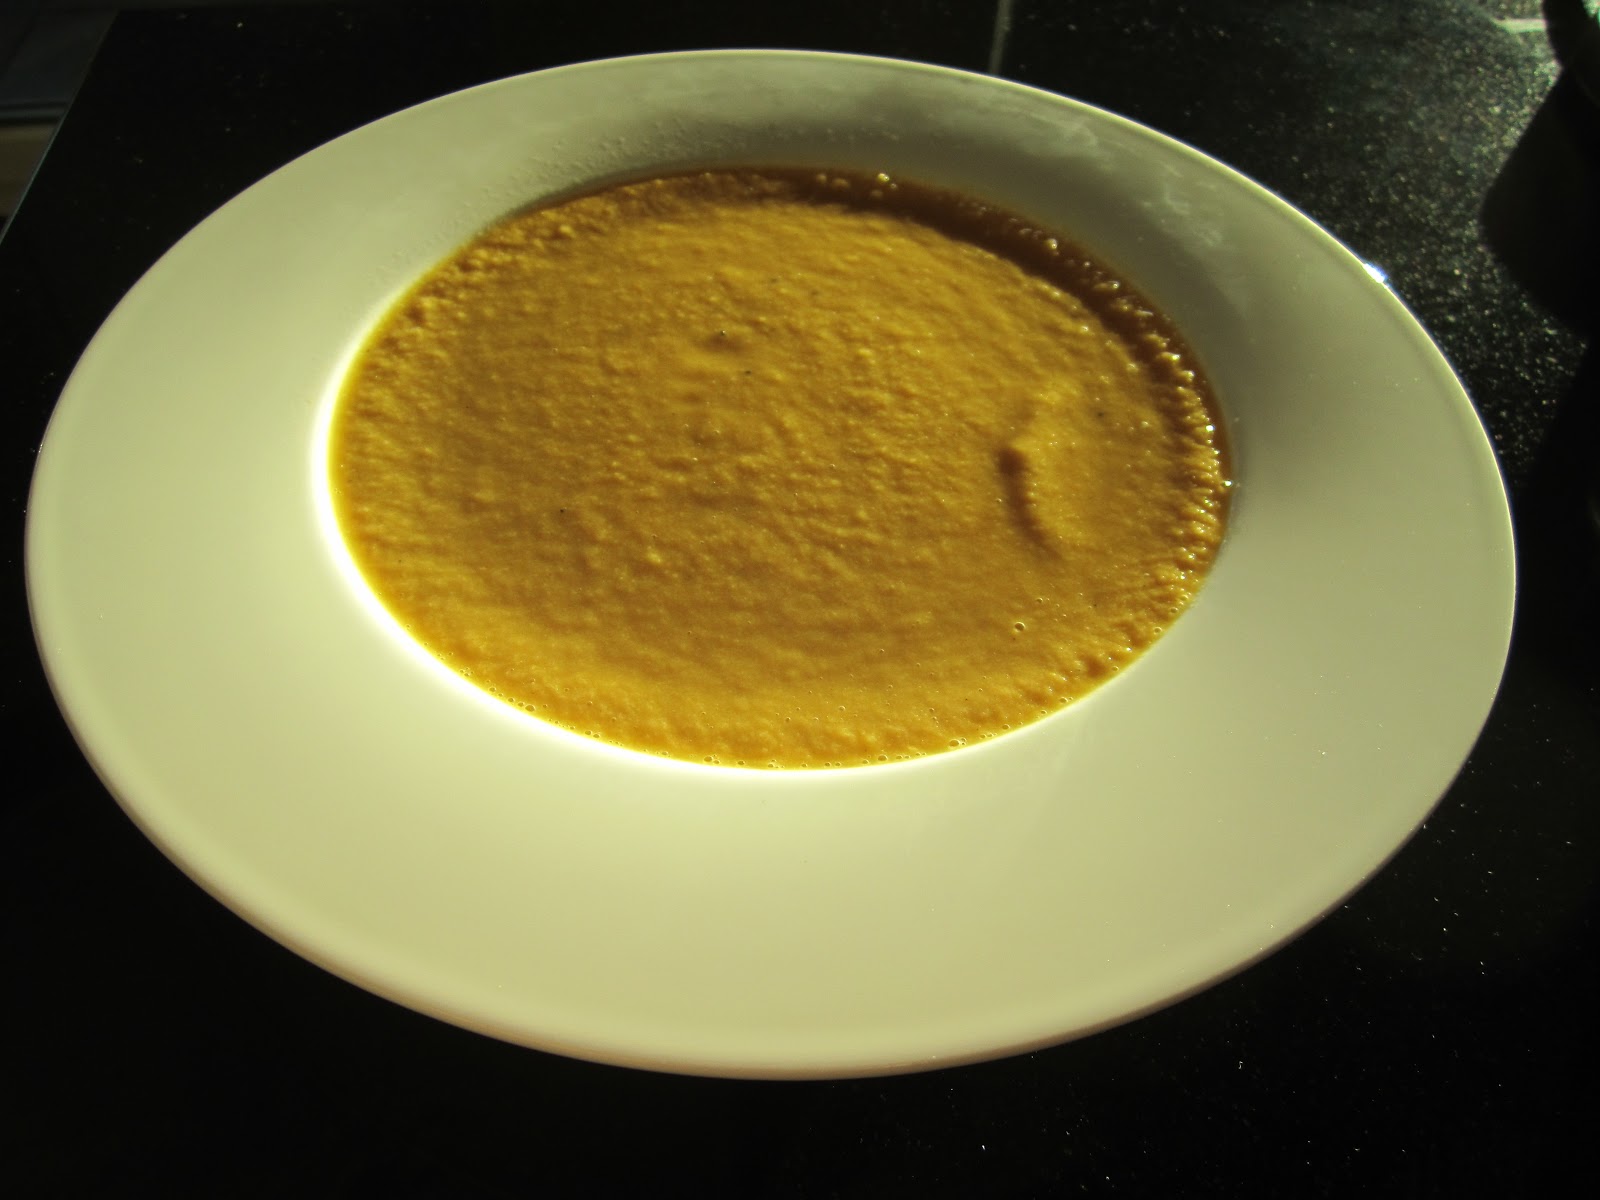
Here's how mine turned out:
I opted to make the soup vegan by omitting the yoghurt and, of course, using vegetable stock instead of chicken stock. The soup is super easy to make and the added tahini paste and chickpeas make it more satisfying and richer than average carrot soup which I love as I don't crave food shortly after. Tastewise, the combination of the sweetness of the carrot blends beautifully with the earthy and a bit salty taste of tahini paste. The chickpeas make the soup deliciously creamy. I added quite a bit more water to thin the soup, but it's up to you and your personal preference to adjust the liquidity.
Have fun trying and maybe you can enjoy better weather and warmer temperatures!
Hi guys!
I am so sorry to have left you on your own for this long! University has been busy and as the whole family went on a short skiing holiday, I had no chance to cook or bake in a while. But as this week past easter I am still on easter holidays, I have the possibility to bake and cook a lot and am trying to make up for last week's missed opportunities. Spring has decided to let us wait longer here in Switzerland so I figured it would be nice to try and at least bring spring on my plate. As you all know, Donna Hay has been a huge favourite of mine for a long time now and as I was searching her website for ideas lately, I came across a recipe for this apple slice with a crumb topping. I looove crumb toppings, I could solely eat those and leave the rest of the cake, but in combination with the apple and the lovely dough, it is just too tempting to not eat everything. Here's the link to the recipe: https://www.donnahay.com.au/recipes/desserts-and-baking/apple-slice
As always with Donna, a few simple steps and you're in cake heaven.
1) Preheat the oven. Peel and cut the apples, and place them in a saucepan along with butter and cinnamon to make the apple filling. Cook over low heat for 5 minutes or until the apples are softened.
2) For the dough, place the butter and sugar in an electric mixer and beat until creamy. This takes at least 5 minutes on medium to high speed. Add the egg and beat. Fold in the flour, baking powder and milk.
3) For the crumbs, mix the flour, baking powder, butter and sugar in a bowl until it resembles breadcrumbs. I normally let the mixture form a paste and crumble it on top of the cake with my fingers.
4) Line a 20cm x 30cm tin with baking paper (I normally use a metal casserole dish). Fill with the dough (spreading it carefully to try and create an even layer), top with the apple filling and crumbs. Bake for 40 minutes until golden.
Yield: about 12-16 slices depending on size
Active preparation time: about 30 minutes
Total preparation time: 70 minutes
Here's how mine turned out:
I love how the crumb, filling and dough together create this lovely cake while having all different textures combined in one. And I am in love with apple and cinnamon - an unbeatable combination in my opinion.
Have fun trying and I hope spring is giving you the full treatment it is denying us at the moment!